
Rebar Size Chart: What Do Diameters, Weights and Grades Really Tell You?
Ordering rebar by guesswork is expensive: a wrong diameter stalls pours, an unchecked weight inflates freight claims. A rebar size chart removes both risks before you sign.
A rebar size chart lists nominal diameters with their cross-sectional areas, theoretical weights per metre, grade designations and governing standards, so engineers and buyers can specify, quote and verify reinforcement consistently. For metric bars, weight per metre equals the diameter squared divided by 162.
Reading a chart is easy; trusting one under site conditions is harder. In this guide we explain how diameters are standardized, how the weights on the chart are actually calculated, what the grade column adds, how ASTM, ISO and GB/T systems compare, and how to verify a delivery so the paperwork matches the steel on the truck.
Why Does Diameter Matter More Than Any Other Number on a Rebar Size Chart?
A millimetre looks small on paper, yet it changes load capacity, concrete cover and bar spacing on every structural drawing. Diameter is the first number you must get right.
Diameter controls the cross-sectional area of the bar, and area is what carries force: doubling the diameter quadruples the area, so a size error of one grade step is never a cosmetic issue.
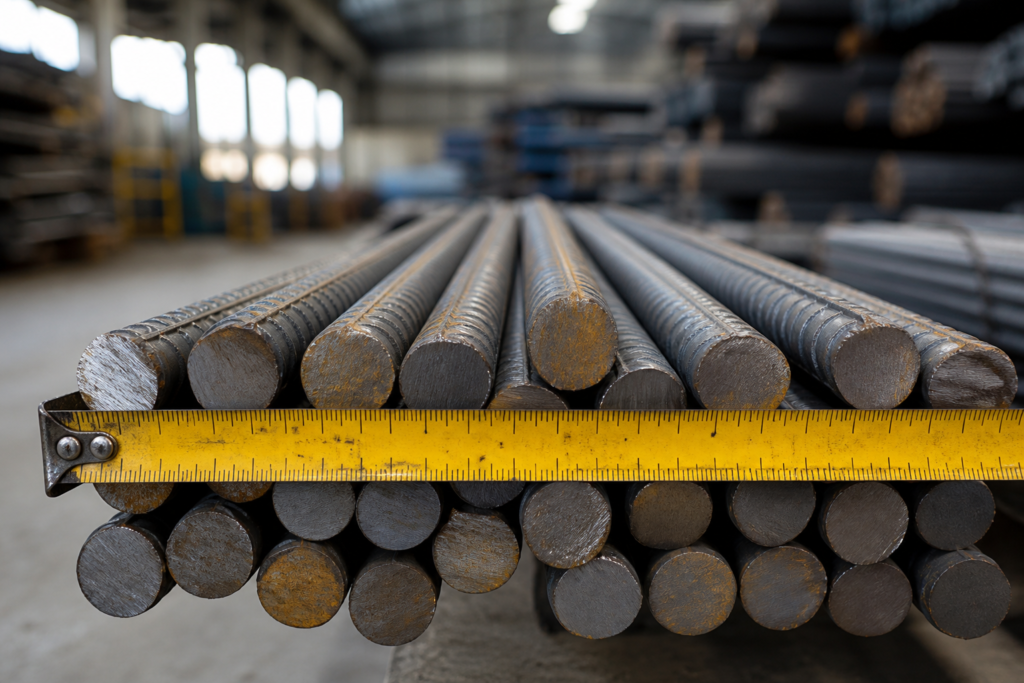
The engineering reason a rebar size chart exists is that almost every useful property of a deformed bar scales with its cross-sectional area, which is calculated as A = π × d² / 4, where d is the nominal diameter. A 16 mm bar has an area of about 201 mm², while a 20 mm bar has about 314 mm² — roughly 56 percent more steel per bar for the same length. Tensile capacity, compressive capacity, stiffness, and the force developed through bond with the surrounding reinforced concrete all track that area, which is why structural engineers select bar sizes from a design calculation, not from what is cheapest or most available. Diameter also controls practical site behaviour: larger bars are stiffer and harder to bend on site, they demand larger minimum bend diameters so the outer fibres do not crack, and they need thicker concrete cover to protect against corrosion in aggressive environments. In congested zones such as beam-column joints, an unnecessarily large bar forces wider spacing, which reduces the crack control that small, closely spaced bars provide, so bigger is genuinely not better. The nominal diameter is also what the mill marks on the bar itself and what the inspector checks with a caliper on arrival, which is why the size column of a chart is the anchor that connects the drawing, the purchase order, the mill test certificate and the physical steel. Every other column — weight, grade, standard, length — only becomes meaningful once the diameter is fixed. A common and costly mistake in procurement is to treat a rebar size chart as a price table and jump straight to the cheapest row; in reality the chart is a translation tool between the structural designer’s requirement and the supplier’s stock programme, and the diameter column is the key that locks the two together. When a project specifies a deformed bar size, substituting a nearby diameter without the engineer’s approval changes the reinforcement ratio, the bond behaviour and the final structural safety, even if the grade remains identical.
How Is Theoretical Weight per Metre Calculated for a Rebar Size Chart?
Every freight quote, bundle count and receiving check depends on one number: kilograms per metre. If you cannot reproduce that number, you cannot audit a shipment.
Theoretical weight comes from steel density, not from weighing every bar: weight per metre in kilograms equals 0.00617 × d², commonly written as d² / 162, with d in millimetres.

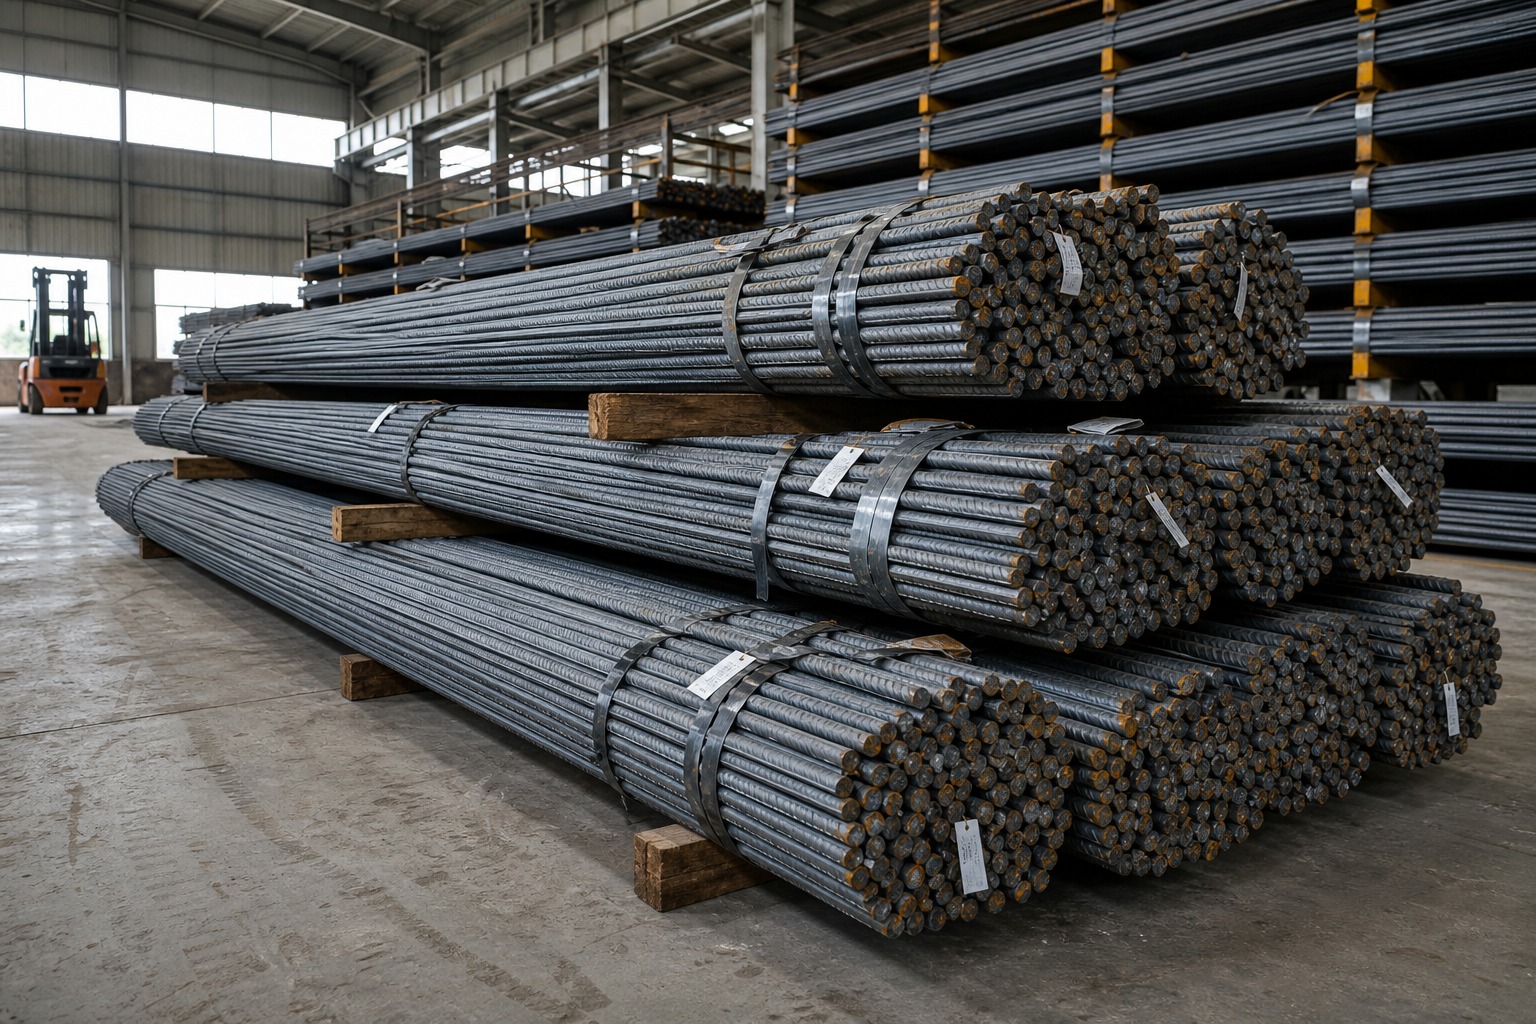
Steel used for concrete reinforcement has a density of about 7,850 kg/m³, which is the basis of the industry formula. If you take the cross-sectional area of a round bar, A = π × d² / 4 expressed in square metres, and multiply it by 7,850 kg/m³, you obtain a weight per metre of roughly 0.006165 × d² kg/m, which the trade rounds to 0.00617 × d² or to the simpler d² / 162. Take two everyday examples: a 20 mm bar works out to about 2.47 kg/m, a 25 mm bar to about 3.85 kg/m, and a 32 mm bar to about 6.31 kg/m — figures that appear again and again in export quotations and freight calculations. Because these are theoretical values, most reinforcement standards also allow a small mass tolerance on individual bars and bundles, so the number on a chart is a commercial baseline for estimating, invoicing and receiving checks rather than a laboratory guarantee for every single length. The table below applies the formula to the metric diameters most commonly stocked and traded, adds the weight of a full 12 m bar, and gives the approximate US bar number for comparison. ASTM designations are inch-based, so the US numbers are near equivalents rather than exact matches for metric sizes.
| Nominal diameter (mm) | Theoretical weight (kg/m) | Weight per 12 m bar (kg) | Approx. ASTM bar No. | Typical use |
|---|---|---|---|---|
| 6 | 0.222 | 2.66 | — | Light ties, small mesh |
| 8 | 0.395 | 4.74 | — | Stirrups, ties, mesh |
| 10 | 0.617 | 7.40 | No. 3 | Slabs, walls, light foundations |
| 12 | 0.888 | 10.66 | No. 4 | Slabs, beams, columns (light) |
| 14 | 1.21 | 14.52 | — | Slabs and walls (metric markets) |
| 16 | 1.58 | 18.96 | No. 5 | Beams, columns, footings |
| 18 | 2.00 | 24.00 | — | Heavy slabs, beams (metric markets) |
| 20 | 2.47 | 29.64 | No. 6 | Columns, heavy footings, piles |
| 22 | 2.98 | 35.76 | No. 7 | Large columns, beams |
| 25 | 3.85 | 46.20 | No. 8 | Heavy columns, bridge members |
| 28 | 4.83 | 57.96 | No. 9 | Transfer structures, piles |
| 32 | 6.31 | 75.72 | No. 10 | Large columns, heavy piles |
| 36 | 7.99 | 95.88 | No. 11 | Very heavy members, columns |
| 40 | 9.87 | 118.44 | — | Special heavy members |
These are theoretical values: standards allow a small mass tolerance on each bar and each bundle, and actual weighing of a bundle normally falls within a few percent of the calculated figure when the diameter is correct. That tolerance is precisely why the formula is so useful for auditing. When a truck arrives, the receiving team can count bars, multiply by the unit weight from the chart and by the length, and compare the result with the weighbridge ticket within minutes, without unloading a single bundle. The same arithmetic drives commercial decisions: exporters calculate container payloads from unit weights, freight forwarders charge by mass, and importers pre-check landed cost per tonne before opening a letter of credit. If a supplier quotes an unusually low per-tonne price, a quick recalculation of the bar weight against the nominal diameter often reveals whether the quote is based on a smaller theoretical size than the one ordered. The chart therefore works as a silent auditor through the whole transaction, which is why the weight column must be reproduced exactly, not approximated from memory.
What Do the Grade Designations on a Rebar Size Chart Mean?
Two bars with the same diameter can carry very different loads if their grades differ. The grade column tells you the guaranteed strength, and ignoring it voids the chart.
A grade is a promise about minimum yield strength and ductility: Grade 60 under ASTM A615/A615M means at least 420 MPa yield, while HRB400 under GB/T 1499.2 means at least 400 MPa, and B500B under European practice means 500 MPa.
A rebar size chart that stops at diameter and weight is only half a specification, because strength is set by the grade column, not by the size column. In North America the dominant standard is ASTM A615/A615M, which covers carbon-steel bars for concrete reinforcement in yield grades from Grade 40 [280 MPa] up to Grade 100 [690 MPa]; Grade 60 [420 MPa] is the default for most structural work, and the official standard text can be consulted directly at the ASTM A615/A615M specification page. Where weldability or controlled tensile properties matter, specifiers turn to ASTM A706/A706M, a low-alloy bar with restricted chemistry and carbon equivalent limits that make it the preferred choice for seismic frames and welded connections; A706 is available in Grade 60 [420 MPa] and Grade 80 [550 MPa]. In China-standard projects the reference is GB/T 1499.2, where HRB400 and HRB500 are the common hot-rolled ribbed grades, and the suffix E (HRB400E, HRB500E) signals enhanced ductility for earthquake-resistant design, measured through stricter elongation, bending and yield ratio requirements. For international and many Middle Eastern and African contracts, ISO 6935-2 is frequently named in the specification, with grade designations such as B500B and B500C reflecting 500 MPa minimum yield strength and different ductility classes. Because grade families name their products differently while guaranteeing similar physics, a chart that mixes standards must carry the standard in every row; reading a 500 MPa bar as if it were a 400 MPa bar, or vice versa, silently changes the structural margin of the whole project. This is also where buying discipline pays: the grade is verified from the marking rolled into the bar surface and from the mill test certificate, not from the paint colour of the bundle tag. If you need a refresher on how the grade families compare in practice, our guide to deformed steel bar (rebar) grades and uses walks through ASTM, ISO and GB designations in plain language.
How Do ASTM, ISO and GB/T Size Systems Compare on a Rebar Size Chart?
Metric millimetres and imperial bar numbers describe the same product in different languages, and mixing them is a classic import mistake. One chart must handle both.
US bar numbers are inch-based: No. 4 is 4/8 inch, or roughly 12.7 mm, while metric markets stock 10, 12, 14, 16, 20, 25, 32 and other millimetre sizes. The two systems overlap but never match exactly.
The confusion is understandable because both systems describe the same physical product — hot-rolled ribbed steel for concrete reinforcement — but they define sizes differently. The ASTM system names a bar by its diameter in eighths of an inch: a No. 4 bar is 4/8 inch, exactly 12.7 mm nominal, a No. 8 bar is 8/8 inch or 25.4 mm, and the number series continues to No. 11 at 35.8 mm and beyond. The metric system, used by GB/T 1499.2 in China and by most other metric-standard countries, simply names the nominal diameter in millimetres, with common stock sizes running from 6 mm to 40 mm. When a buyer in Lagos or Dubai orders “25 mm”, the mill ships a 25.0 mm nominal bar; when a buyer in Houston orders “No. 8”, the mill ships a 25.4 mm bar with a slightly different cross-section. Both weigh close to 3.85–3.98 kg/m, and for many purposes they are interchangeable, but they are not identical, and a certificate that states one system while the site inspects with the other invites disputes. International standards acknowledge the gap by offering both editions — ASTM A615M is the SI companion of A615 and lists metric bar sizes — while ISO 6935-2 works purely in metric dimensions and GB/T 1499.2 defines its own diameter series with tolerances on cross-sectional area. For an importer the practical rule is simple: write the size, the standard and the grade together in every document, for example “20 mm HRB400, GB/T 1499.2” or “No. 8 Grade 60, ASTM A615”, and reject any quotation that omits one of the three. When you see both systems on one supplier chart, as you do in many export catalogues, treat the ASTM column as approximate unless the supplier states the governing standard for each row. If you are comparing a metric order against a US-based project specification, it is worth reading our earlier breakdown of rebar grades HRB400, HRB500 and B500B, which shows how the same strength requirement is expressed across the three most common standard families.
Which Rebar Size Should You Choose for Slabs, Columns and Foundations?
Every structural member has a customary band of bar sizes. Size follows the engineer’s calculation, but knowing the bands helps you check any list.

In typical building practice, 8–12 mm bars dominate slabs and walls, 12–20 mm bars dominate beams, columns and footings, and 20–32 mm bars are reserved for heavy columns, transfer structures and piles.
Slabs and walls are usually reinforced with the smaller sizes on the chart because crack control, not raw strength, often governs: closely spaced small bars distribute shrinkage and temperature stresses more evenly than a few large bars, and 8 mm, 10 mm and 12 mm bars are the everyday workhorses of floor and wall grids in residential and commercial buildings. Beams, columns and footings move into the middle band, where 16 mm and 20 mm bars provide the area needed to carry bending moments and axial loads without creating congested laps at joints; these sizes also bend and lap economically on site. Heavy elements — large columns in high-rise cores, pile caps, transfer girders and bridge substructures — use 25 mm, 28 mm, 32 mm and occasionally larger bars, where a handful of big bars delivers the required area with practical spacing. Seismic detailing adds its own logic: ductile frames favour more, smaller bars over fewer, larger ones so that joints stay workable and the section develops the required curvature capacity, which is why the engineer’s bar list should never be “optimized” by a supplier who wants to clear a particular stock size. Three practical checks keep a procurement list honest. First, confirm the diameter band against the structural drawings before asking for prices, because quotes for the wrong size are worthless even at a good price. Second, verify that the requested grade and size are actually available in the supplier’s stock programme; our rebar sizes and weights reference shows the diameters, grades and lengths we regularly supply, including HRB400 and HRB500 options. Third, when a project needs a specific stocked size such as a HRB400 deformed steel bar in 20 mm, confirm length and bundling at the same time, because a 12 m bar weighs about 29.6 kg and bundle counts drive both handling cost and container planning. For 500 MPa design loads, a HRB500 deformed steel bar in 25 mm carries the same work with fewer bars, so confirm stock and length when you enquire.
How Do You Verify a Rebar Delivery Against the Size Chart?
The chart is only useful if the steel on site matches it. A ten-minute receiving check can prevent a rejected pour and a costly return shipment.
Verify four things on arrival: the rolled markings (size, grade, heat), the actual diameter measured with a caliper, the bundle weight against the theoretical unit weight, and the mill test certificate against the markings.
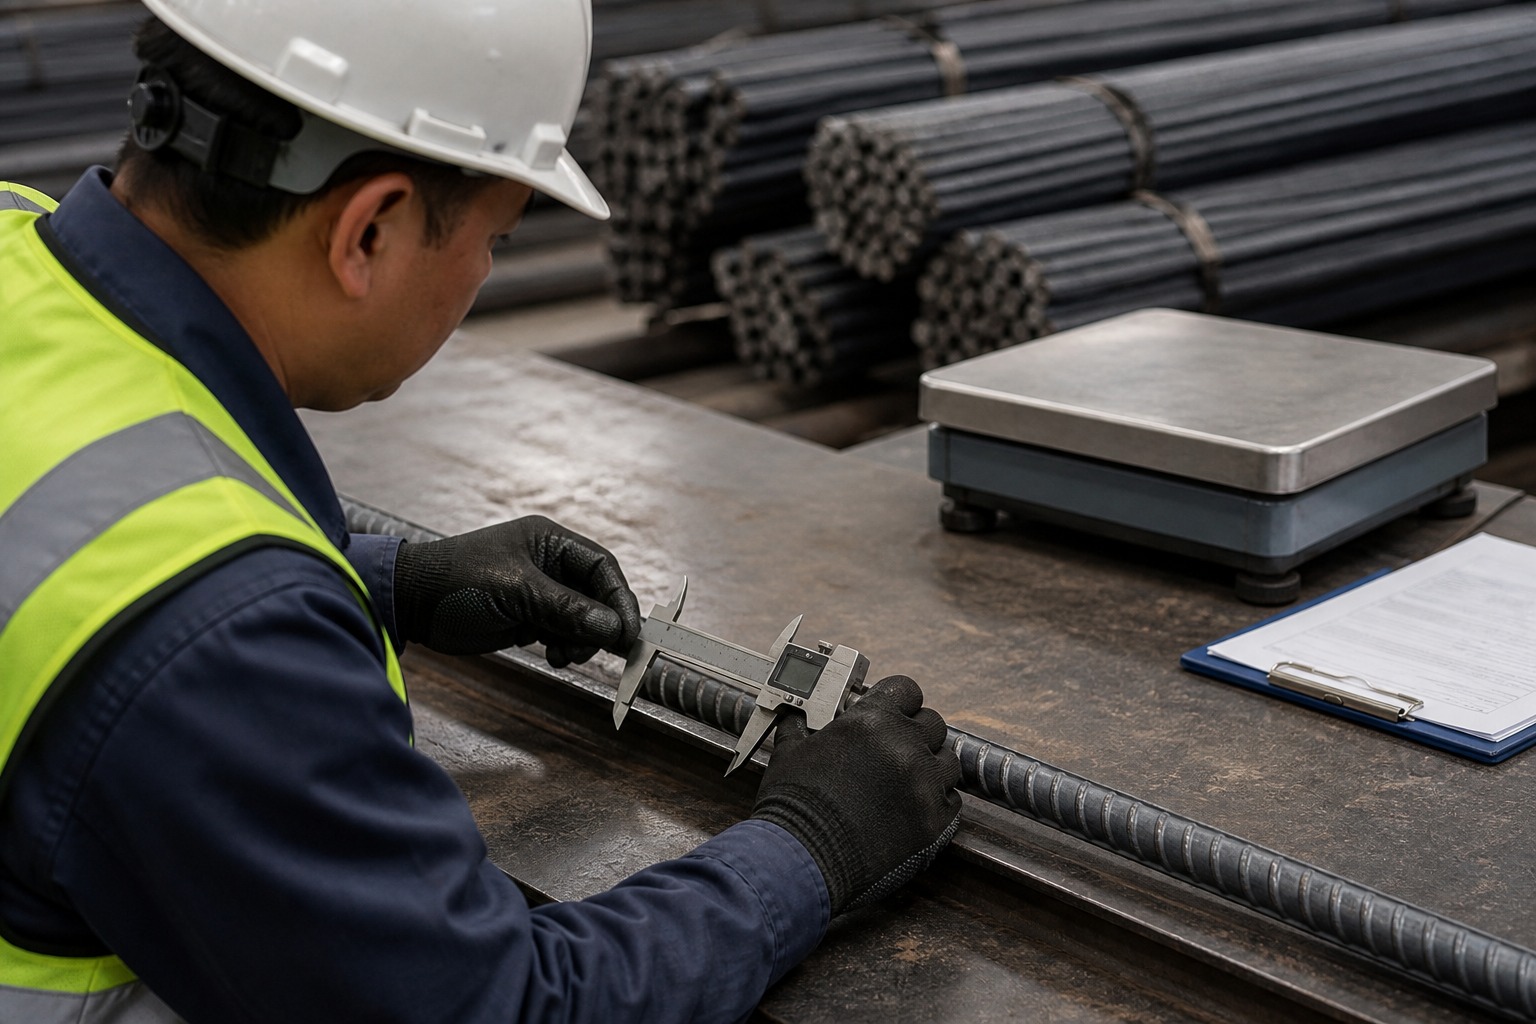
Incoming inspection should follow the same logic as the chart: size first, then grade, then weight. Start with the tags and the markings rolled into the bar surface, which normally show the mill identifier, the size and the grade; a 25 mm HRB500 bar must actually carry the marking that says so, because bundle tags can be swapped in handling. Next, measure the diameter with a caliper at several points along a sample of bars. The measured value will be close to the nominal size but not identical, because the ribs are excluded from the nominal diameter and rolling tolerances apply, so judge the bar against the standard’s tolerance band rather than demanding an exact match. Weighing is the third check: weigh a full bundle or a counted sample, compare it with the theoretical weight from the chart multiplied by the number of bars and the length, and allow the small mass tolerance that every standard permits. A persistent shortfall of several percent usually means undersized bars or short lengths, and it should stop the acceptance process rather than be discounted quietly. The mill test certificate is the fourth document: its heat numbers, chemical analysis and mechanical results must align with the markings on the physical bars, and the certificate should name the same standard and grade that appear on your purchase order. Where the bars will be welded or used in seismic frames, pay extra attention to chemistry limits such as carbon equivalent, which is exactly the area where the Concrete Reinforcing Steel Institute (CRSI) provides authoritative detailing and placing guidance for North American practice. Finally, store the bars clear of the ground under loose covers, because heavy rust or pitting affects bond and surface quality even when the diameter still measures correctly. When the delivery has passed these checks, the shipment can be paid and placed with confidence; if you need bars in a specific size and grade with full documentation, contact Shuncheng Steel with your required diameter, length, quantity and governing standard and we will confirm availability, supply mill test certificates and plan the most economical bundling for your site.
Conclusion: Diameter, weight and grade are one specification, not three columns. Read them together, verify them on arrival, and every pour proceeds on schedule.