
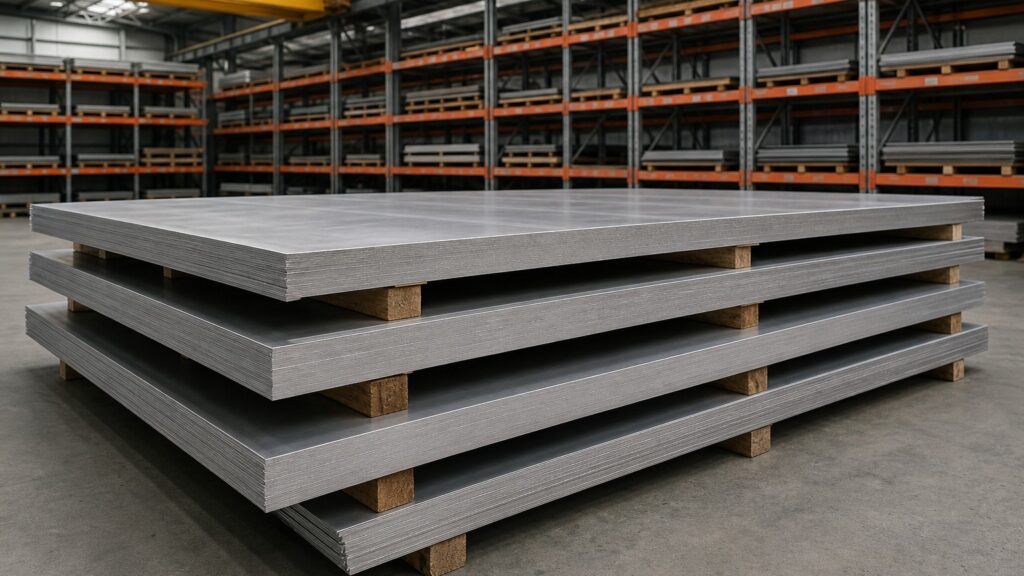
Stainless Steel Plate Fabrication: Bending, Forming and Welding?
A cracked bend, a heat-tinted weld or a rejected assembly can stall an entire project. Here is how stainless plate fabrication really works before you place the order.
Stainless plate fabrication converts stainless steel plate into finished parts by cutting, bending, forming, welding and finishing. Grade, thickness and finish decide the route: 304 and 316L are the most common fabrication grades, and low-carbon grades are chosen where welded joints must keep their corrosion resistance.
Fabrication looks straightforward on a drawing and rarely behaves that way in the shop. Austenitic stainless steel work-hardens as it is formed, conducts heat poorly, expands more than carbon steel when heated, and keeps every handling mark it receives. Each of those properties is manageable once it is designed for rather than discovered halfway through a job. The sections below follow the order a real fabrication shop runs the work: what the scope actually contains, how to bend plate without cracking it, which forming method suits which shape, how to weld so the joint keeps its corrosion resistance, how to control distortion and heat tint, and how to inspect and finish the delivered part.
What Does Stainless Steel Plate Fabrication Involve?
A fabrication job is a chain of operations, and the weakest link sets the delivery date.
Stainless plate fabrication usually covers cutting to size, edge preparation, bending or forming, welding, post-weld cleaning or passivation, and dimensional inspection. It also covers the paperwork: grade identification, a mill test certificate traceable to the heat, and an agreed surface finish.
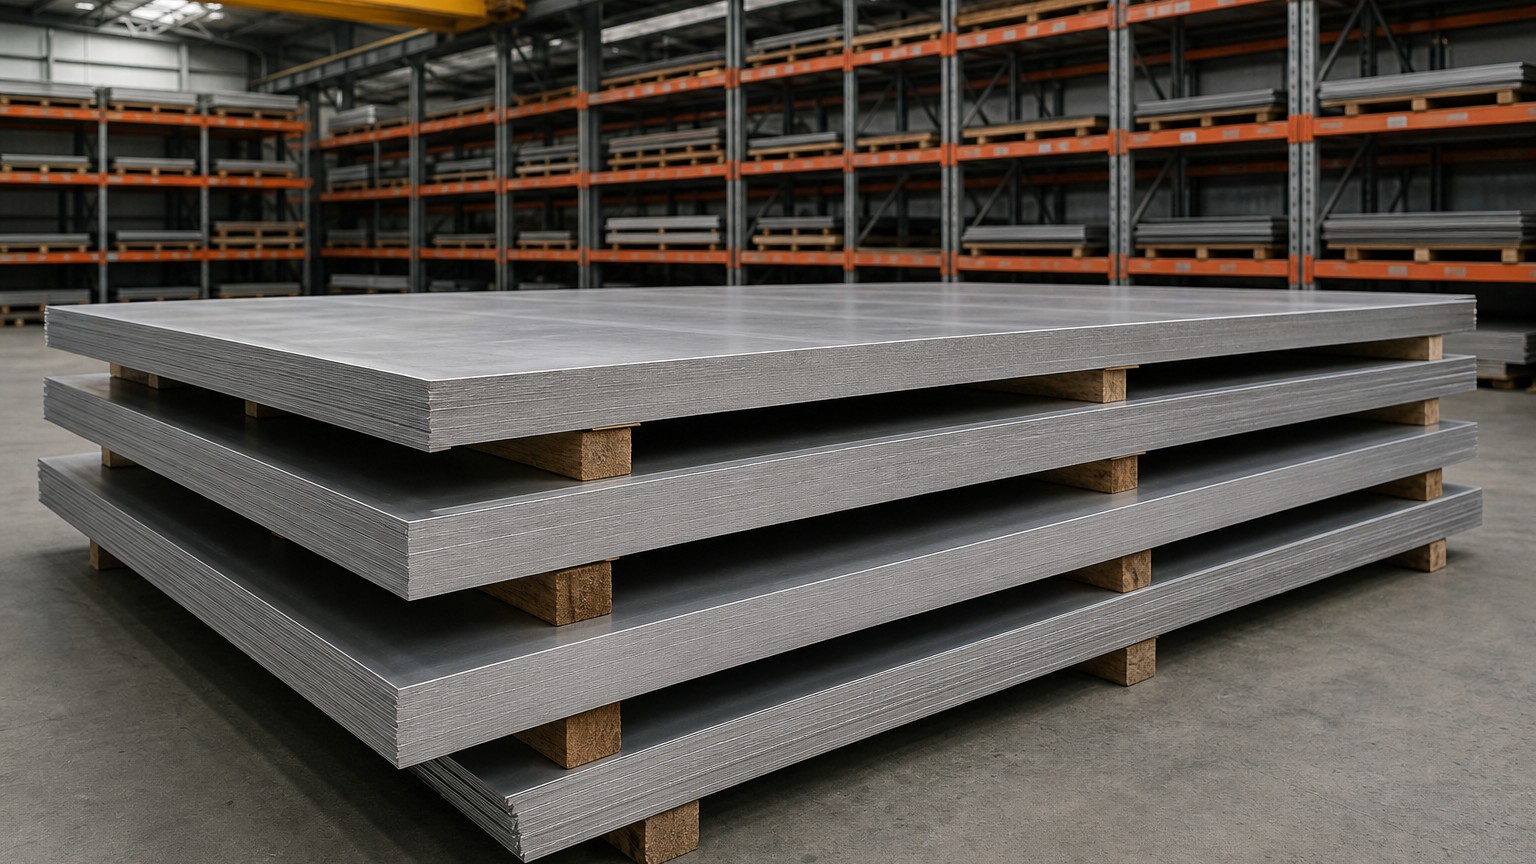
Dive deeper: what a fabrication scope actually contains. Buyers normally send a drawing, a grade and a quantity, and the shop converts that into an ordered sequence. The sequence begins with identification, because the plate going into the job has to be the grade that was quoted. Mixing a 304 plate into a 316L vessel is not a paperwork error; it is a corrosion failure waiting for a commissioning date, and it is the single most common reason a fabricator refuses to accept material from an unknown source. Cutting comes next, and the method follows thickness and tolerance rather than habit. A guillotine shear is fast and economical on straight-edged plate, but it leaves a work-hardened edge and cannot follow a contour. Laser cutting produces an accurate profile quickly and is practical across the lighter end of plate. Plasma cuts heavier sections economically and leaves a heat-affected edge that has to be dressed back. Waterjet cuts any thickness with no heat input at all, which matters when the cut edge is the finished surface. Edge preparation follows cutting: a weld cannot be made into a square, contaminated or oxidised edge and still be expected to pass inspection. Then forming, then welding, then post-weld treatment, then dimensional and visual inspection. Two consequences matter commercially. First, the surface finish you ordered travels through every one of those steps, so any operation that marks the surface becomes a visible defect that cannot be argued away. Second, the processes are not interchangeable in cost: moving cutting from laser to waterjet, or welding from manual TIG to an automated cell, changes price and lead time by more than most buyers anticipate. The work-hardening, low heat transfer and high thermal expansion of the austenitic family are exactly why stainless fabrication is planned rather than improvised, and the overview of metal fabrication sets out the same process chain from the industry side. Our own stainless steel plate for fabrication is supplied in 304, 304L, 316 and 316L to ASTM A240 in the finishes these processes need.
How Do You Bend Stainless Steel Plate Without Cracking It?
Cracking at the bend line is the most expensive forming mistake, and it is nearly always a specification error rather than bad luck.
Bend stainless plate with a generous inside radius, the bend line running across the rolling direction, and tooling matched to the plate thickness. Austenitic grades work-harden, so the outer fibre needs more radius and more springback allowance than carbon steel of the same thickness.
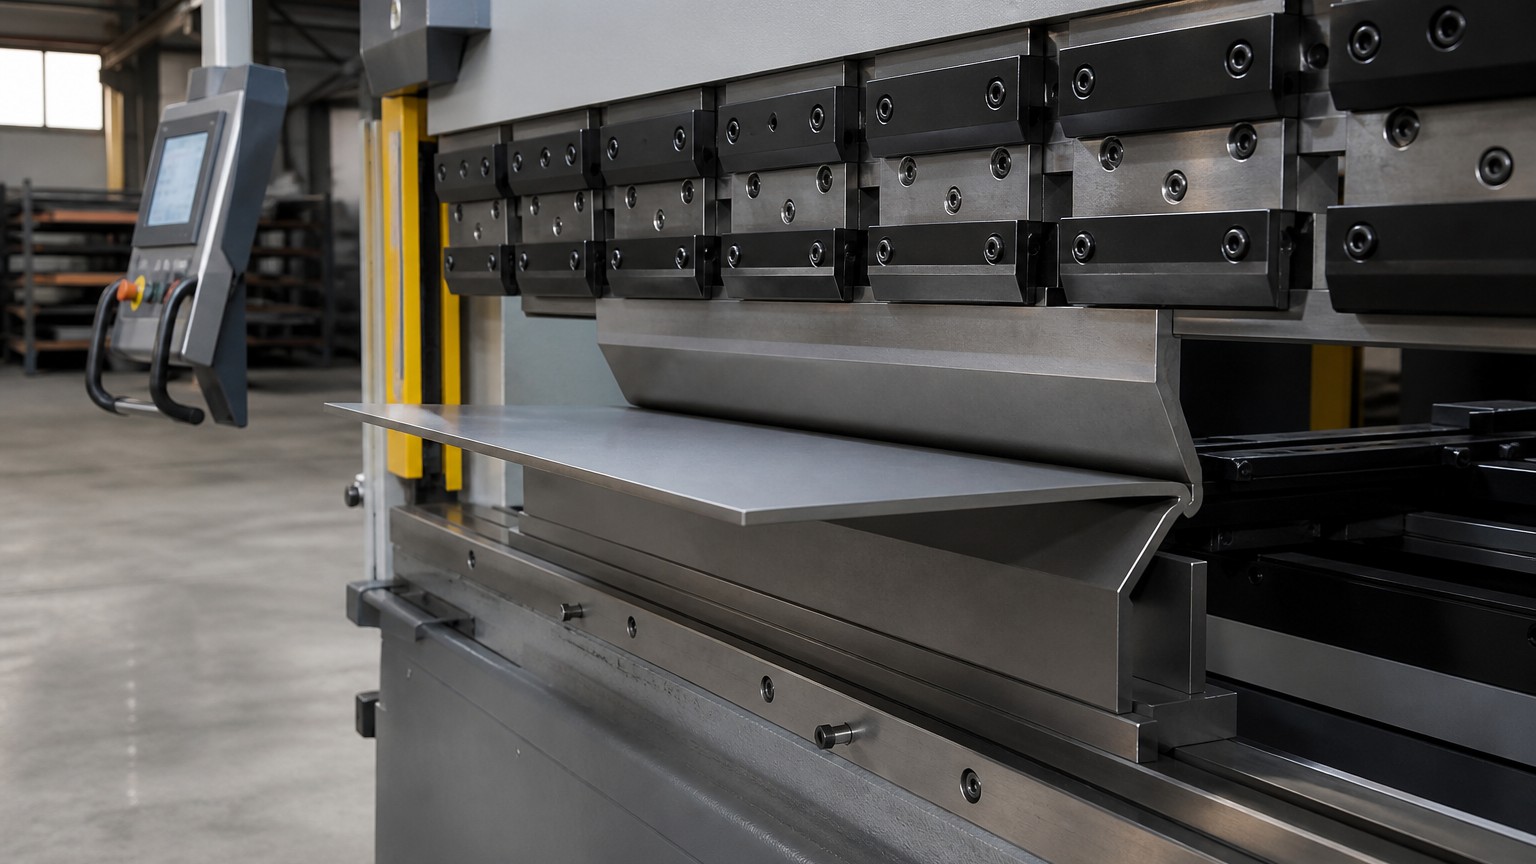
Dive deeper: radius, springback and the tooling decisions that prevent cracks. A press brake forms plate by driving a punch into a die, and how far the punch travels decides whether the result is an air bend, a bottomed bend or a coined bend. Air bending is the default in most shops because one tool set covers a range of angles, but it leaves the inside radius largely determined by the die opening rather than by tooling geometry, which is why the die opening has to be selected against the plate thickness instead of whatever happens to be in the machine. The second decision is the inside radius itself. Rules of thumb for austenitic grades are commonly quoted near one to two times the plate thickness, and they are a starting point for a trial piece, not a substitute for one. Have the shop form a scrap offcut at the intended radius before releasing the batch. Springback is the next trap. Stainless steel returns noticeably towards its original shape after the load is removed, and because the material work-hardens, the second and third parts of a run can need a different correction from the first. A shop that sets an angle and walks away will ship a stack of parts that all measure slightly open. Tooling condition matters as much as tooling choice. A worn punch nose or a die shoulder with a burr will score the plate, and a score line on the outside of a bend is a stress raiser on the surface least able to tolerate one. Heavier sections are often formed in several passes with intermediate handling rather than in a single hit, and the plate should be supported on both sides of the bend so its own weight does not pull the radius open. Finally, orientation: a bend made across the rolling direction behaves differently from one made along it, and drawings rarely say which is intended. If the component is safety-related, write the orientation into the specification. The mechanics of the operation, including the difference between air bending and coining, are described in the reference article on bending in metalworking, and where the job sits near the sheet-to-plate boundary it is worth fixing the thickness in millimetres first with our guide to stainless steel sheet thickness before any forming radius is calculated.
Which Forming Methods Suit Stainless Steel Plate?
Forming is chosen by the shape the finished part has to hold, not by the machine that happens to be free.
Straight-line bends belong on a press brake, cylindrical and conical shells on a roll bender, and dished heads on a press or a spinning operation. Cold forming raises strength and can make 304 slightly magnetic; heavy hot forming changes properties and usually needs the part re-annealed afterwards.
Dive deeper: matching the forming method to the geometry, and what forming does to the metal. Roll bending is the natural process for tanks, vessels and duct sections, because three rolls can curve a plate into a cylinder or a cone without the tool marks a series of press brake hits would leave. It is also the process where the material’s behaviour is most visible: austenitic stainless steel work-hardens as it passes through the rolls, so a large radius may need several passes with the roll gap closed progressively, and the ends of the plate stay flat unless they are pre-bent. A shop that tries to make a shell in one pass usually produces a cylinder that springs open. Press forming and dishing suit heads, covers and shallow domed parts, where a die or a set of progressively deeper passes forces a flat plate into a curved form. Spinning suits circular parts in thinner plate and can produce a head from a flat blank without a matched die. Beyond the method itself, forming changes the material. Cold work raises the yield strength of austenitic grades and lowers their ductility, which is helpful when a formed part has to be stiffer and unhelpful when it has to be formed further; it also makes 304 and 316L weakly magnetic, and that magnetism is a normal consequence of deformation rather than evidence of the wrong grade. Hot forming has the opposite profile. Working at temperature reduces the force needed and allows shapes that cold forming cannot reach, but it disturbs the microstructure, and for the 300-series the part normally has to be solution annealed afterwards to restore both the mechanical properties and the corrosion resistance in the worked zone. Any buyer specifying a hot-formed component should confirm before the order is placed who is responsible for that heat treatment and how it will be documented. A third consideration is the edge condition during forming. Sheared edges contain cold-worked material, and a heavily worked edge cracking during a subsequent form is a shop-floor problem that traces right back to how the blank was cut.
How Do You Weld Stainless Steel Plate for a Corrosion-Resistant Joint?
A stainless weld can look perfect and still destroy the corrosion resistance around it.
Weld stainless plate with low heat input, a filler matched to the parent grade, clean stainless-only tooling, and purging on both sides of a full-penetration joint. Where the joint must keep its corrosion resistance, specify a low-carbon grade such as 316L or 304L.
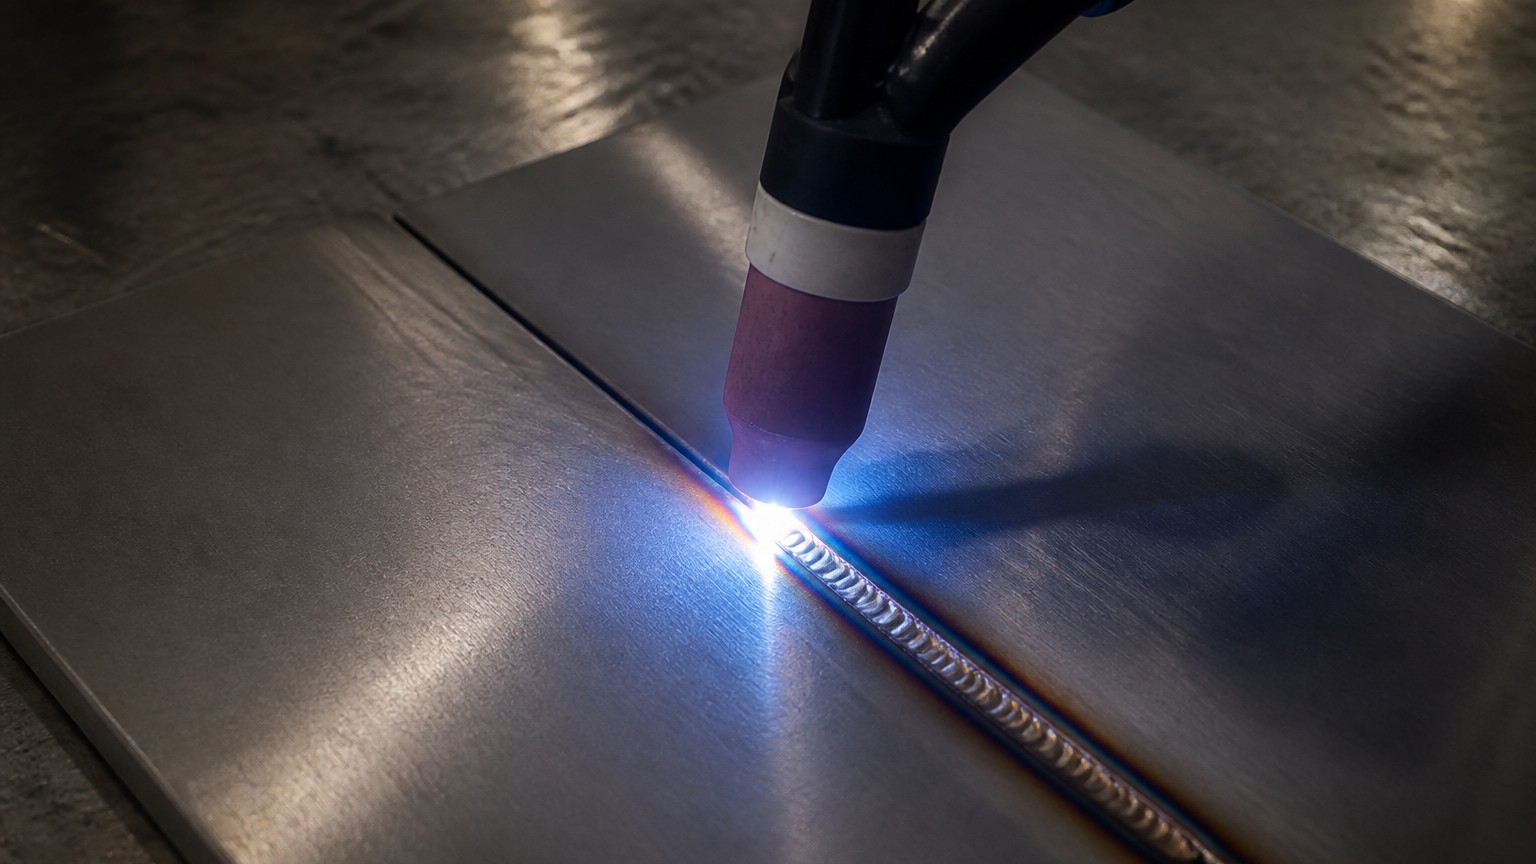
Dive deeper: heat input, filler selection and the chemistry behind the choice. Two problems dominate stainless welding, and both are chemical rather than cosmetic. The first is sensitisation. When an unstabilised austenitic stainless steel sits in the range roughly between 425 and 815 degrees Celsius, chromium can combine with carbon at the grain boundaries and precipitate as chromium carbide, which strips chromium from the metal immediately around those boundaries. That chromium is what forms the passive film, so a sensitised band along a weld loses corrosion resistance even though the surface looks unchanged. Low-carbon grades keep this to a minimum because there is less carbon available to combine, which is precisely why 304L and 316L exist and why welded process equipment is routinely specified in the L grades. The second problem is cracking. Fully austenitic weld metal is prone to hot cracking, and a small controlled amount of ferrite in the deposit helps resist it, which is one reason 304 welds are normally made with a filler that does not match the parent chemistry exactly. Molybdenum-bearing 316L filler (ER316L) is used on 316L plate for the same reason the plate was chosen: chloride resistance. Process control then decides how much of that chemistry survives. TIG suits root passes and thinner plate because the operator controls the pool closely; MIG and submerged arc are used where deposition rate matters. Cleaning before welding is not optional: dedicated stainless brushes and grinding discs, never the ones used on carbon steel, because embedded carbon steel particles become corrosion sites under a paint or a passivation layer. Purging the back of a full-penetration joint with argon prevents the root from oxidising into a rough, chromium-depleted surface that cannot be cleaned afterwards. Interpass temperature should be limited and the sequence balanced, and the general principles of the process are set out in the reference article on welding. If the finished part is a plate component with a specified finish, such as a 316L stainless steel plate 6 mm No.4 finish, agree in advance how the weld and its heat tint will be dressed and whether the brushed grain will be re-blended.
How Do You Control Distortion and Heat Tint After Fabrication?
Distortion and heat tint are both heat problems, and both are cheaper to prevent than to correct.
Limit and balance heat input, tack and sequence the assembly so contraction is symmetrical, use fixtures or strongbacks where flatness matters, and remove heat tint completely by pickling, grinding or electrochemical cleaning rather than leaving it as a cosmetic issue.
Dive deeper: why stainless steel moves so much, and what heat tint really is. Stainless steel distorts for two reasons that reinforce each other. Its thermal conductivity is low compared with carbon steel, so heat from a weld concentrates near the joint instead of spreading away through the plate, and the local temperature gradient becomes steeper. At the same time its coefficient of thermal expansion is higher, so the plate that does get hot grows more than a carbon steel plate would and then contracts more as it cools. The result is a weld that pulls the surrounding plate towards the joint and leaves a dished or bowed assembly. The controls are procedural rather than exotic. Reduce the heat input by using the smallest practical weld size, since an oversized fillet adds heat and contraction without adding strength. Balance the sequence: weld alternate sides, use back-step or skip welding, and let each pass cool before the next one instead of running a continuous bead the length of a joint. Fix the assembly when flatness is contractual, but remember that a rigid fixture resists distortion rather than removing the locked-in stress that caused it, so fixtures and a sensible sequence are used together. Where flatness is critical, a shop may also plan a controlled straightening operation after welding and before final inspection. Heat tint is the second issue and it is often misread as a cosmetic stain. The coloured oxide that forms beside a weld is chromium-depleted metal beneath an oxide layer, and leaving it in place removes exactly the corrosion resistance the grade was bought for. Pickling with an acid paste or bath removes both the oxide and the depleted layer; grinding removes them mechanically but can smear contaminants into the surface; electrochemical cleaning is a controlled middle route. Whichever is used, the surface should be passivated afterwards so the passive film re-forms evenly, and any mechanical cleaning should use stainless-dedicated abrasives. Because these treatments affect appearance and cost, they belong in the enquiry rather than in a post-delivery discussion. The material specification that sits behind all of it, covering chromium and chromium-nickel stainless plate, sheet and strip for pressure vessels and general applications, is published as ASTM A240/A240M.
How Do You Inspect and Finish a Fabricated Stainless Plate?
Inspection is the last gate before the part leaves the shop, and it is where most disputes are won or lost.
Check the dimensions that the drawing actually controls, verify flatness on a table or with a straightedge, inspect welds visually before any penetrant or radiographic testing is called for, confirm any specified surface roughness, and record every result against the batch number rather than on a loose sheet.
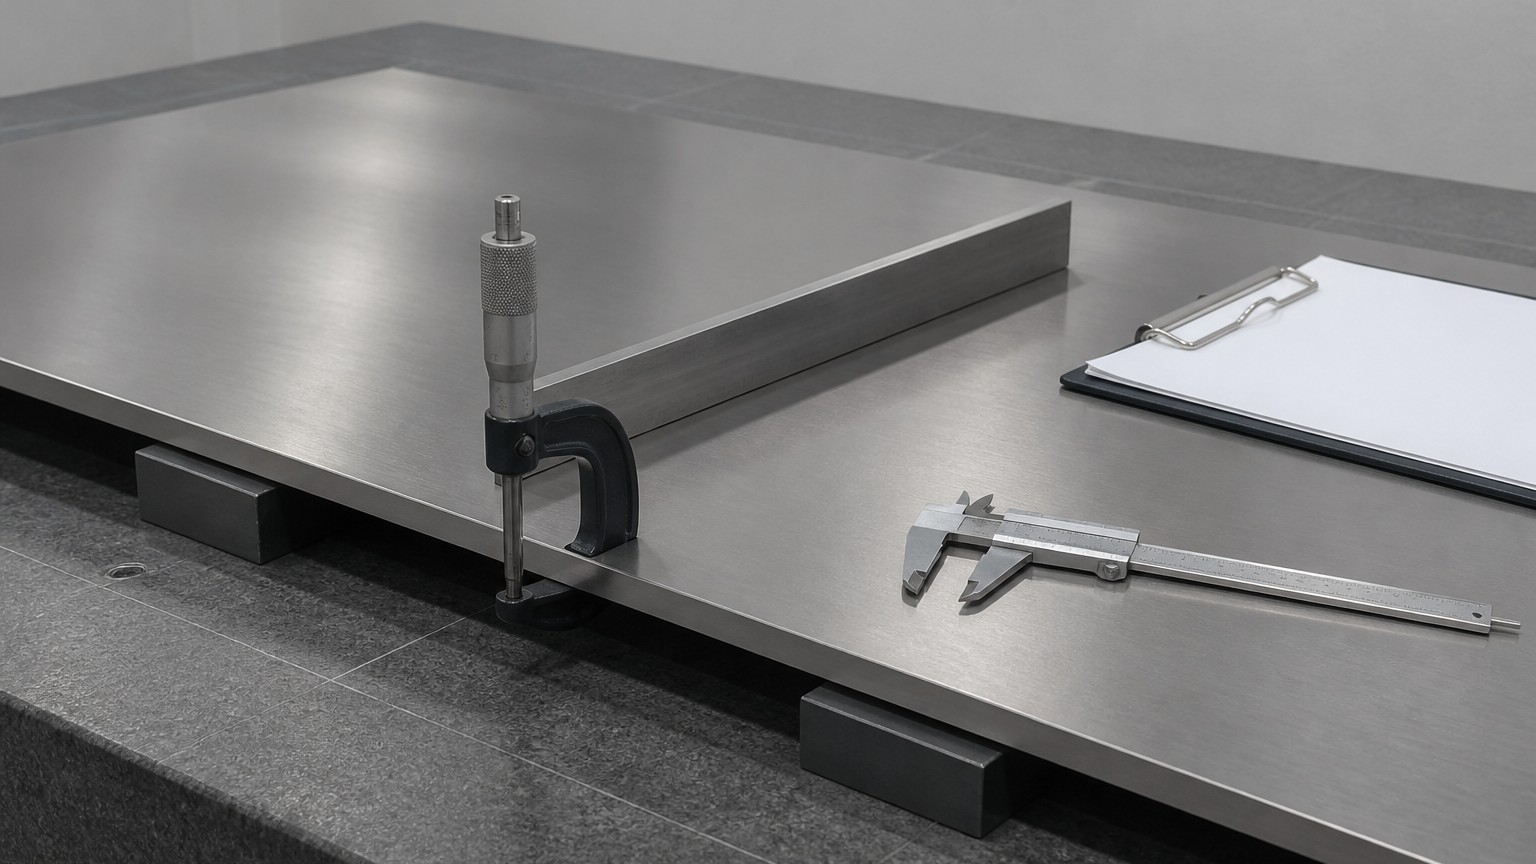
Dive deeper: an inspection and finishing routine that holds up in a real project. A fabricated stainless component carries three separate kinds of quality requirement, and they are usually inspected by different people. The first is dimensional. Thickness, overall size, bend angle, inside radius and hole positions are checked against the drawing, and flatness is judged on a surface table or with a straightedge laid across the part, not by eye on a bench. Where a bend angle is specified with a tolerance, it must be measured after the part has cooled, because a hot-formed angle will move. The second is the weld. Visual inspection comes first and catches most of what matters: undercut, incomplete fusion, craters, spatter, and the heat tint that tells you whether the shielding was right. Only then do the more expensive techniques earn their place. Dye penetrant reveals surface-breaking defects on austenitic material reasonably well, while radiographic or ultrasonic testing is reserved for joints where the specification genuinely demands volumetric examination, because each of them adds cost and lead time and neither substitutes for a welder who controls the process. The third requirement is surface. If a finish was specified, it needs to be verified in a way the supplier accepts, judged under diffused and then glancing light, and compared against a retained approved sample where appearance is contractual. Handling completes the picture. A component that passes inspection and then gets dragged across a dirty bench for packing has not passed anything. Protective film, interleaving and clean lifting tackle belong in the delivery plan for visible surfaces, and film should be removed as late as practical because adhesive left in sun or for months can stain the surface. Documentation is the final deliverable: the mill test certificate for the plate, inspection records tied to the batch number, and any cleaning or passivation record. The accumulated technical guidance published by the British Stainless Steel Association is a practical second opinion when a finish or a treatment has to be argued rather than assumed, and the difference between a mill-rolled 2B surface and a brushed No.4 surface is worth settling before the drawing is issued, as how 2B and No.4 finishes differ on the shop floor explains.
Conclusion
Stainless plate fabrication succeeds when grade, thickness, radius, welding procedure and finish are decided before the first cut, and inspected against the batch afterwards.
Planning a fabricated stainless component? Send grade, thickness, drawing and finish to our team through send us your drawing for a fabrication quote and we will confirm material, tolerances and lead time.