
How to Test Stainless Steel Quality Before Buying?
You approved a 304 sample, paid for a full container, and the chemistry report that arrives is from a different heat. Nobody notices until parts fail in service.
A stainless steel quality test combines document checks, chemical verification, mechanical testing and visual inspection: confirm the mill test certificate and heat number, verify grade chemistry with XRF or a spectrometer, check hardness and tensile results, measure dimensions, and inspect surface and marking before the container is loaded.
Testing is not one action but a sequence, and the order matters because each step narrows the risk the next step has to cover. Documents tell you what the supplier claims; chemistry tells you what the steel actually is; mechanical results tell you how it will behave under load; dimensional and visual checks tell you whether you received the product you ordered rather than something close to it. Work through the six stages below in sequence, and decide in advance which of them you will witness yourself, which you will delegate to a third party, and which you will accept on paper alone. That single decision is usually what separates a smooth import from a container of claims.
What Documents Should You Check First in a Stainless Steel Quality Test?
Paperwork is your first quality gate, and it is the cheapest one to pass or fail.
Check three documents before any physical test: the mill test certificate with its heat number and certificate type, the purchase order specification naming grade and standard, and the packing list. The certificate must match the heat number stamped or stencilled on the material itself.
What a mill test certificate proves, and what it does not
A mill test report or mill test certificate is a quality assurance document that records the chemical analysis and the mechanical test results of a specific heat, and states which standard the material complies with. In European practice the document type is defined by EN 10204: a 3.1 certificate is issued by the manufacturer’s own inspection department and contains test results, while a 3.2 certificate is countersigned by an inspection representative independent of the manufacturing department, or by the purchaser’s representative. That distinction matters commercially, because it tells you who is standing behind the numbers.
What the certificate does not do is tie itself to the individual plate you receive. A certificate belongs to a heat, and a heat can be cast into dozens of slabs, coils and plates that are then split across customers, re-rolled, cut and re-stacked. Certificate fraud and certificate substitution are real risks in the flat product trade, and they are invisible on paper: the document is genuine, the heat number is genuine, and the material in the container is still not the material the document describes. Treat the certificate as a claim to be verified, not as proof.
Matching heat numbers to the material in front of you
The first practical test is therefore documentary cross-matching. Take the heat number from the certificate, then find it on the plate itself — stencilled, stamped or on a tag fixed to the bundle — and on the packing list. Where the order was placed to ASTM A240/A240M for stainless steel plate, sheet and strip, the specification fixes the chemical composition and mechanical property requirements for the grade, and it is the document a supplier can be held to. If your purchase order named both a grade and a standard, the certificate must reference both; a certificate that says “304” without a standard reference leaves the tolerance and test basis undefined.
The clause is also worth checking against the supplier’s own product range, so that the certified grade, finish and thickness exist as a real production route rather than a trading description. Our ASTM A240 stainless steel plate pages list the grades and finishes we supply on this basis, which makes the certificate easier to verify line by line before you commit.
Two clauses in the purchase order prevent most of the trouble at this stage. The first requires the heat number to be transferred to each piece or bundle, so that the certificate can never be detached from the material. The second requires positive material identification — an independent chemical check — on a stated sample, which we cover in the next section. Several buyers also ask that the original certificate, not a scan, travel with the shipping documents, and that a second copy be sent by email before loading so that discrepancies can be raised while the container is still at the works. Both requests cost the supplier nothing, and both close the gap where certificate substitution usually happens. A certificate that cannot be matched to a number on the steel is not evidence of anything.
How Do You Verify Stainless Steel Grade Chemically?
Chemistry decides corrosion performance, and a certificate alone cannot tell you what is physically in front of you.
Verify grade chemistry with X-ray fluorescence in the field or optical emission spectrometry at the mill: confirm chromium, nickel and molybdenum levels, and use OES or combustion analysis where carbon must be measured, because handheld XRF cannot read carbon reliably.
What handheld XRF can and cannot measure
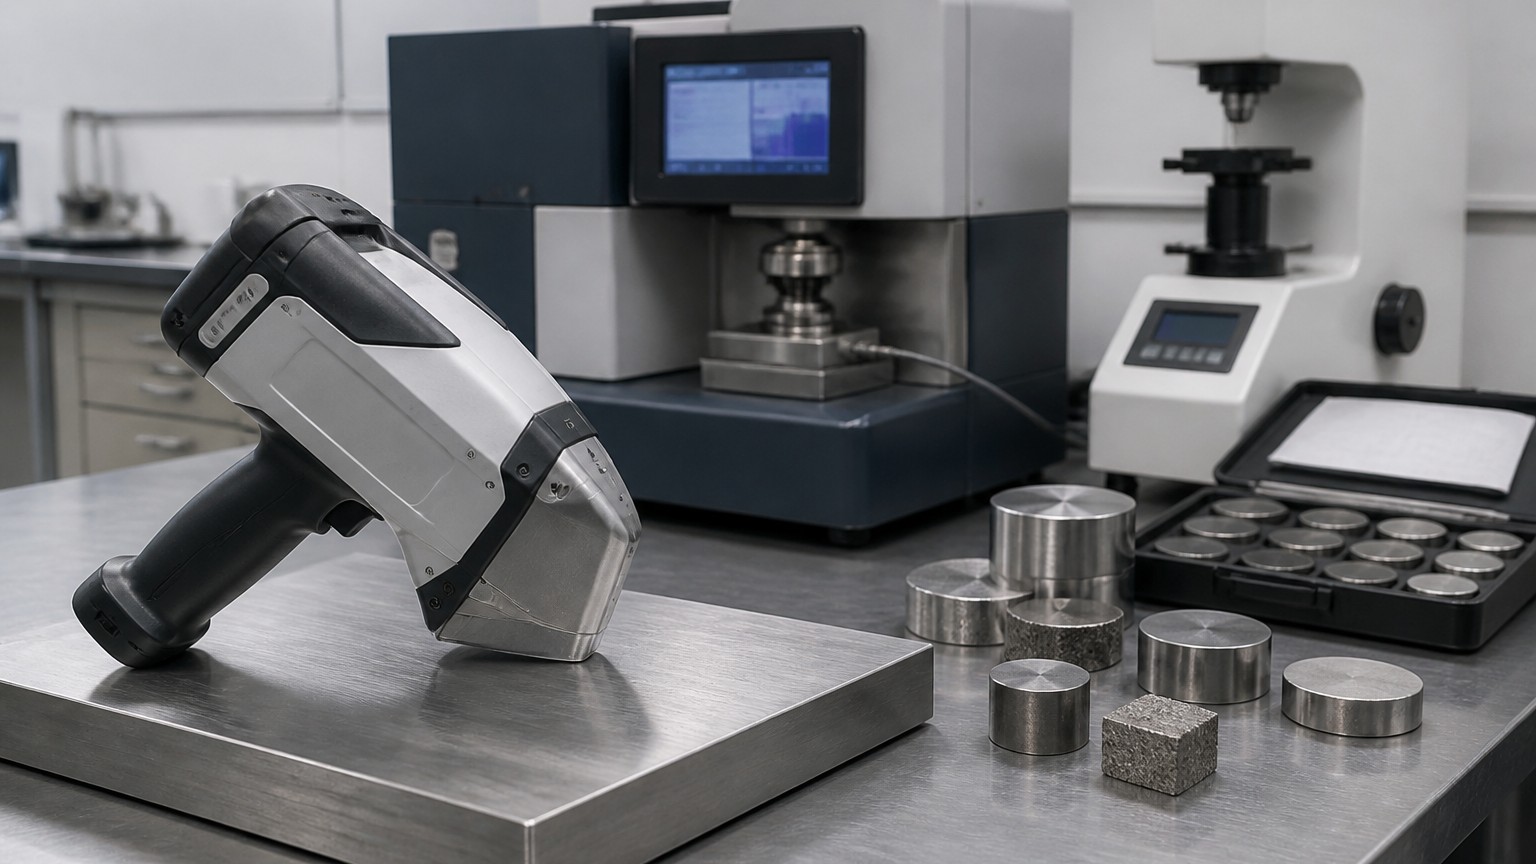
Positive material identification with a handheld X-ray fluorescence analyser is the standard field method, and it is fast, non-destructive and portable enough to use on a stacked plate or a loaded bundle. The analyser excites the surface atoms and reads the characteristic X-rays that come back, which gives you a reliable picture of the heavier alloying elements — chromium, nickel, molybdenum, manganese, and contaminants such as copper or titanium. Calibrated against reference standards, it will separate 304 from 316 with confidence, and it will catch the substitution that matters most in practice: 201 or 304 supplied where 316 was ordered.
Its limits are just as important. Carbon is too light an element for handheld XRF to measure reliably, so a grade defined by a carbon maximum — 304L against 304, or 316L against 316 — cannot be confirmed by XRF alone. The same applies to nitrogen and to some trace elements. Where the difference between L and non-L grades is contractual, the verification has to be optical emission spectrometry in a laboratory, or a combustion method for carbon specifically. Assuming a reading of “304” proves “304L” is one of the most common and most expensive misunderstandings in flat product purchasing.
Using chemistry to separate grades and predict service
The alloying elements are not interchangeable label numbers; each one changes how the material behaves. Chromium above roughly 10.5 per cent forms the passive film that makes stainless steel resistant to corrosion, and the film self-heals when oxygen is available. Nickel stabilises the austenitic structure and improves toughness and formability. Molybdenum is the element that buys resistance to pitting and crevice attack in chloride environments, which is why a 2 per cent reading on a molybdenum channel is the practical dividing line between a 304 sheet destined for a coastal site and a 316 or 316L plate that will survive there. That practical difference in corrosion and cost is the subject of our comparison of 304 vs 316 stainless steel.
Chemistry also sets up the special tests. Where the service involves elevated temperature or a welded assembly that will be exposed to corrosive media, the purchaser may require an intergranular corrosion test, and the general requirements document for flat-rolled stainless products sets out mechanical, hardness, bend and intergranular corrosion testing, plus impact and permeability tests where specified. Asking for those tests is not over-specification; it is the only way to detect the sensitisation that a chemistry certificate cannot show, because sensitisation depends on how the material was heat treated after it was cast, not on the analysis of the heat itself. Decide at enquiry stage which of these tests you need, because adding them after casting usually means testing stock instead of producing to order.
What Mechanical Tests Prove That Stainless Steel Is Sound?
Chemistry tells you what the steel is; mechanical results tell you how it will behave when it is loaded.
Ask for tensile strength, yield strength and elongation from the heat’s test report, plus hardness and, where the order requires them, bend, impact or intergranular corrosion tests. Results must meet the minimums of the product specification, not merely be reported.
Reading a tensile test result properly
A tensile test pulls a machined specimen until it breaks and records three numbers that a buyer should be able to interpret without help. Tensile strength is the peak stress the material carries; yield strength is the stress at which it departs from elastic behaviour, quoted at 0.2 per cent offset for austenitic stainless; elongation is how much the gauge length stretched before fracture, expressed as a percentage. Together they describe strength and ductility, and they move in opposite directions — cold working raises strength and reduces elongation, which is why a mill certificate for a skin-passed or temper-rolled coil shows different numbers from an annealed one of the same grade.
The table below lists the minimum values commonly quoted for annealed plate, as a reference for judging a certificate rather than as a substitute for the document itself.
| Grade | Tensile strength, min | Yield strength 0.2% offset, min | Elongation in 50 mm, min |
|---|---|---|---|
| 304 | 515 MPa | 205 MPa | 40% |
| 304L | 485 MPa | 170 MPa | 40% |
| 316 | 515 MPa | 205 MPa | 40% |
| 316L | 485 MPa | 170 MPa | 40% |
Two cautions apply to any such table. First, it is a screening aid: the current edition of the product specification and your purchase order govern, and they may impose additional requirements or tighter limits. Second, a number that passes a minimum can still be wrong for your application — a heat that meets the minimum yield strength but was supplied in an over-rolled condition may form poorly even though the certificate is compliant.
Hardness, bend and impact tests
Hardness is the cheapest mechanical check and the one most often used as a proxy for condition. A hardness reading above the range expected for annealed material indicates cold work, which in turn predicts reduced formability, higher springback and a greater risk of cracking during bending or flanging. Hardness testing is quick, portable and can be done on finished parts, though surface condition and curvature affect the reading, so a result should be judged against the mill’s method rather than treated as an absolute. Where the product will be bent, rolled or drawn, a bend test on a specimen from the same heat is more informative than a hardness number alone, because it simulates the actual forming operation.
Impact testing becomes relevant where the material will operate cold or under dynamic loading, and it is usually specified by the application standard rather than by the stainless product specification. The practical point for a buyer is sampling: the mill tests represent a heat, not each plate, so your confidence rests on how the material was processed after casting. Ask how many plates the heat produced, where your order sits within the heat’s output, and whether each coil received a skin pass or an anneal. When the certificate shows that the sample tested was taken from a coil at the opposite end of the heat from the one you are buying, request either additional testing or PMI on your own pieces. That is a reasonable, low-cost request, and a supplier who resists it is telling you something useful before the money leaves your account.
How Do You Check Stainless Steel Dimensions and Surface?
Weight, thickness and appearance are where short deliveries hide, and all three are checkable at the warehouse door.
Measure thickness at several points with a caliper, ultrasonic gauge or micrometer, confirm width, length and camber against the order, weigh the bundle against the theoretical weight, and inspect surface, edges and stencilled marking for grade, heat number and standard.
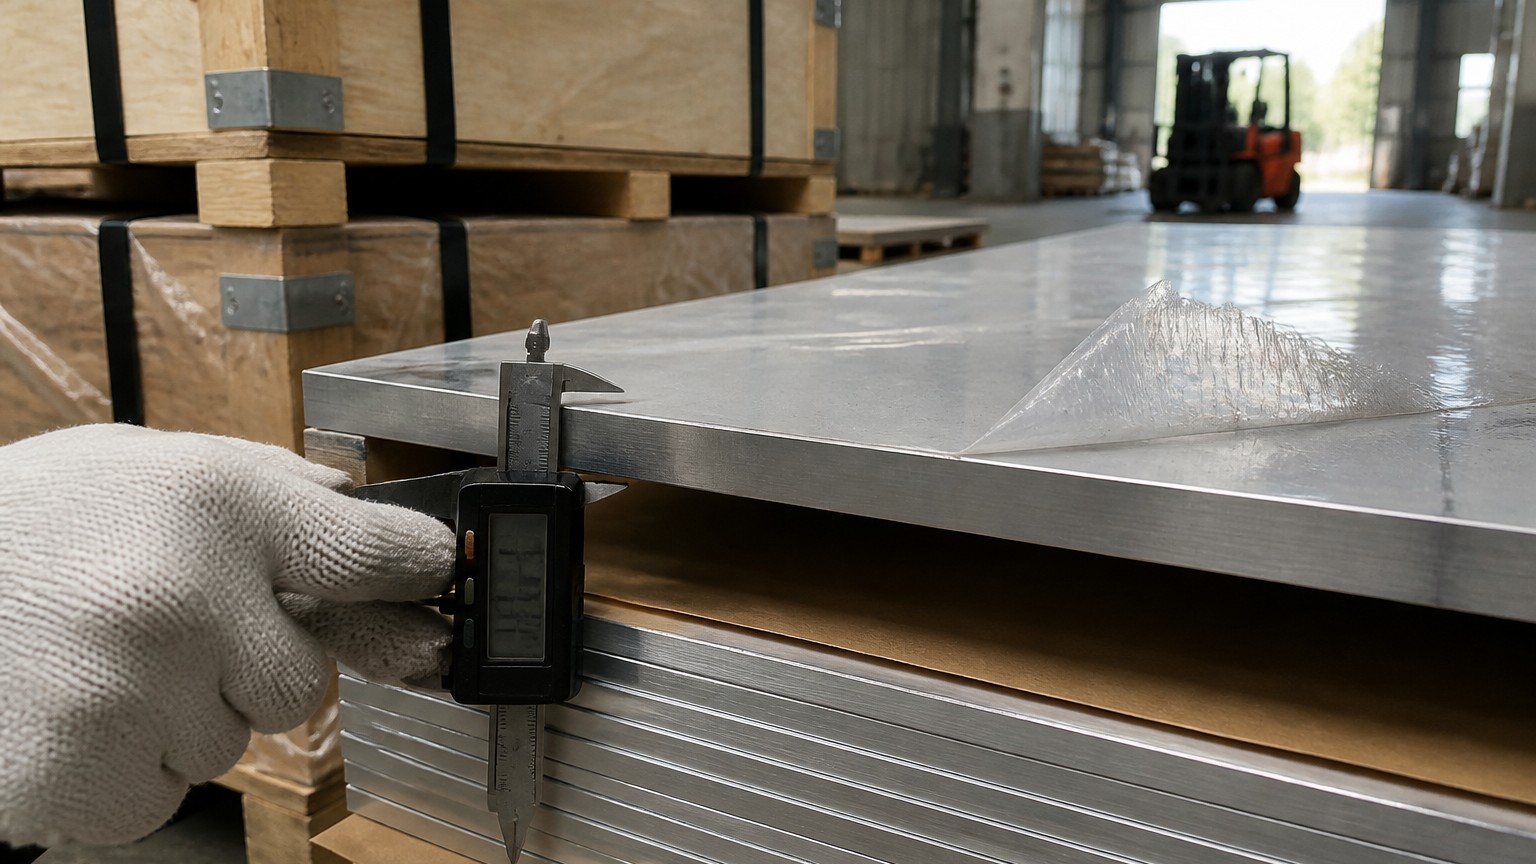
Thickness, tolerance and theoretical weight
Thickness is the dimension buyers argue about most, because a few hundredths of a millimetre multiplied across a container is real money. Flat product specifications establish thickness tolerances that depend on the width and the ordered thickness, and the tolerance band is not symmetrical in the same way for every product form. Measure at several positions across the plate and at more than one plate in the bundle, since a single reading proves nothing about a heat, a coil or a delivery. The reference is the ordered thickness and its permitted tolerance, not the nominal name of the product — a point we set out in detail in our guide to how stainless plate and sheet thickness is specified and toleranced.
Theoretical weight is the second cross-check, and it is the one that catches overweight and underweight deliveries that pass a visual inspection. Calculate the bundle weight from density, dimensions and piece count, then compare it with the weighbridge ticket. A tolerance of a few per cent on a large order usually reflects legitimate thickness tolerance; a systematic shortfall across several bundles suggests the pieces are running under the minimum, which is a contractual issue rather than a shipping one.
Surface, edges and what to reject
Surface inspection should be done against the finish that was ordered, not against expectation, and under lighting that reveals defects rather than hides them. On a mill finish such as No.1 or 2B, look for roll marks, scale, scratches, stains and deep grinding marks that will not clean up; on a polished or brushed finish, look for direction inconsistency, patchy polish and transit scratches at the edges. Where a functional roughness requirement exists, roughness parameters and their indication are standardised internationally, and the general guidance published by bodies such as the British Stainless Steel Association’s technical help service is a practical starting point for interpreting finish requirements before the material ships.
Edges and flatness carry as much risk as the face. Burred, rolled-over or ragged edges cause handling injuries and laser-cutting problems, and they are usually a sign of a mill edge that was supplied where a trimmed or sheared edge was ordered. Camber and flatness matter wherever the plate will be cut into blanks on an automated line, because out-of-flat material causes scrap on the shear or press. Marking is the last physical check: grade, heat number, standard and size should be stencilled, stamped or tagged clearly enough to be read after the bundle has been stored and part of it consumed, since traceability that exists only on the outside wrap is traceability you lose the moment the bundle is opened.
Which Field Checks Can You Run Without a Laboratory?
A magnet, a file and a bottle of test solution will not certify anything, but they will flag problems early.
Use a magnet only as a screening test, since austenitic grades are non-magnetic when annealed but turn slightly magnetic at sheared or welded edges. A molybdenum spot test separates 304 from 316, and a ferroxyl test detects free iron contamination.
What a magnet test really tells you
The magnet test survives because it is instant and free, and it is misused nearly as often as it is applied. Austenitic stainless steels such as 304 and 316 are essentially non-magnetic in the annealed condition, while ferritic and martensitic grades are magnetic — a genuine difference in crystal structure, not a marketing claim. The trap is that the crystal structure rearranges locally when austenitic steel is cold worked, so a plate that is non-magnetic in the middle can attract a magnet along a sheared edge, a bent corner or a heavily ground weld, and a length of material that was strongly cold worked may be magnetic throughout without being a different grade at all.
Used correctly, the magnet is a triage tool. A strongly magnetic sheet where a 304 or 316 mill finish was ordered is worth a second look, and a completely non-magnetic response on material supplied as 430 is equally suspicious. Neither response should ever be treated as a pass or a failure on its own, and neither belongs in an inspection report as evidence of grade.
Spot tests, free-iron tests and their place in an inspection
Chemical spot tests sit between a magnet and laboratory analysis. A molybdenum spot test applies a reagent that changes colour in the presence of molybdenum, which makes it useful for distinguishing 304 from 316 on an individual piece where an XRF analyser is not available. A ferroxyl test, or a simple copper sulphate or free-iron test, detects the embedded iron and surface contamination that cause rust spots in service — usually transferred from carbon steel tooling, wire brushes or shared storage — and it is the correct test where stainless is being supplied for a hygienic or highly visible application. Both tests are inexpensive and both are qualitative.
Behave accordingly. Use them to decide which pieces go for PMI, to check a suspect area after a weld or a grind, and to confirm that contamination has been removed after cleaning. Do not use them to accept or reject a delivery, because their sensitivity is not calibrated, their results are read by eye against a colour chart, and they say nothing about mechanical properties or about elements that were not targeted. A screening check that disagrees with the certificate is the most valuable result you can get, provided you treat it as a reason to stop and test properly rather than as a conclusion.
Where the material is heavy plate, the same logic applies with more at stake: on a 316L stainless steel plate in 25 mm with a No.1 finish the cost of discovering a grade substitution after fabrication is high enough that identification on every piece is usually worth the inspection fee. Screening tells you where to point the analyser; it does not tell you what the analyser would have found.
What Should a Pre-Shipment Inspection Cover Before You Pay?
The cheapest test is the one done while the material is still the supplier’s responsibility.
A pre-shipment inspection should cover document review, PMI on sampled pieces, dimensional checks, visual surface inspection, packing and protection, and container loading, recorded in photographs and a signed inspection report.
Sampling, witnessing and independent certificates
Inspection is only as good as its sampling plan. A single test on one plate in twenty tells you about that plate. A workable plan defines how many pieces are sampled, from which heats and coils, and how they are selected — across bundle positions rather than from the top layer, and across the delivery rather than only from the first bundle loaded. Where the order value or the application justifies it, the buyer or an appointed third-party inspector witnesses the tests at the works, and the certificate is issued as EN 10204 type 3.2 rather than 3.1, which changes who signs the numbers.
Before agreeing the plan, confirm three things in writing: who selects the samples, whether testing is on the finished material or on separately cast test pieces, and what happens if a result falls outside specification. Suppliers who test a sacrificial test coupon from the same heat rather than the delivered plate are not deceiving anyone, but the difference in assurance is significant, and the place to settle that question is the enquiry, not the claim.
Packing, protection and what happens when a test fails
Packing is part of quality, because a surface that leaves the mill perfect can arrive scratched, stained or contaminated. Protective adhesive film on brushed and polished surfaces, interleaving paper or film between stacked sheets, and separation from carbon steel during storage and loading are basic requirements; unprotected handling and stowage against unpainted carbon steel are the usual causes of a claim that the material “arrived rusty”. Loading should be inspected and photographed from the bundle in the yard to the sealed container, with piece counts, bundle numbers and heat numbers visible in the images.
Agree the failure procedure in advance. When a test result, a PMI reading or a dimensional check falls outside specification, the practical sequence is to hold that portion of the shipment, notify the supplier in writing with evidence, and require either re-testing by an accredited laboratory or replacement from conforming stock. If you need the test standard, the test scope, the sampling plan and the packing agreed before anything is loaded, send your test requirements to our export team and we will come back with the document set that matches your application.
Conclusion: How Do You Test Stainless Steel Quality With Confidence?
Match documents, verify chemistry on the pieces, confirm mechanical results against the specification, and inspect dimensions, surface and packing before loading. Screening flags risk; only traceable testing closes it.